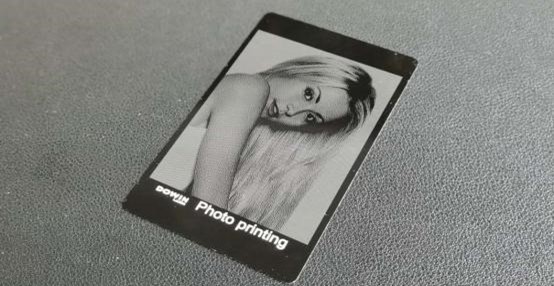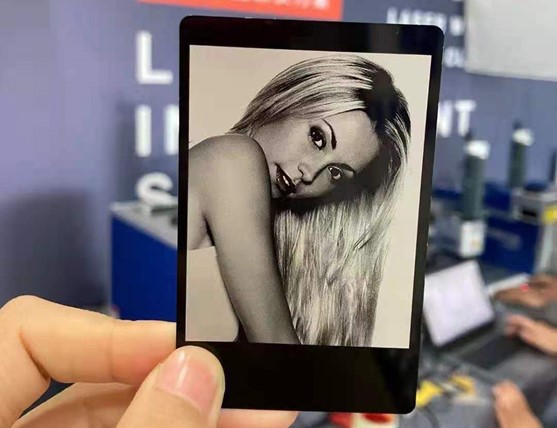
How to print photos with laser marking machine?
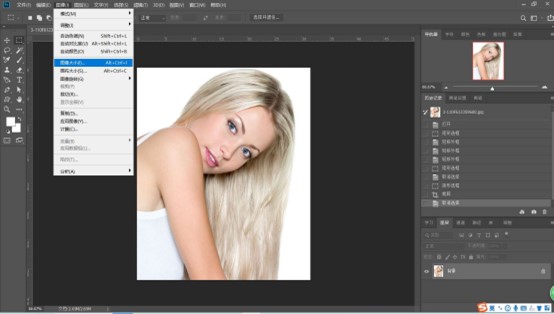
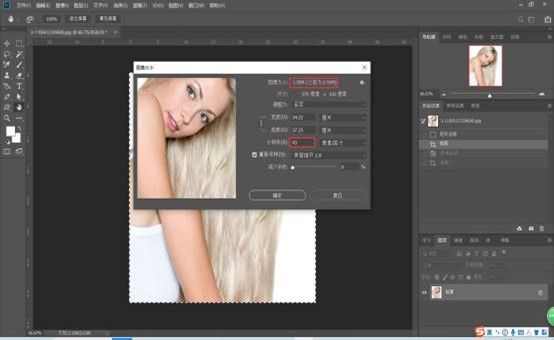
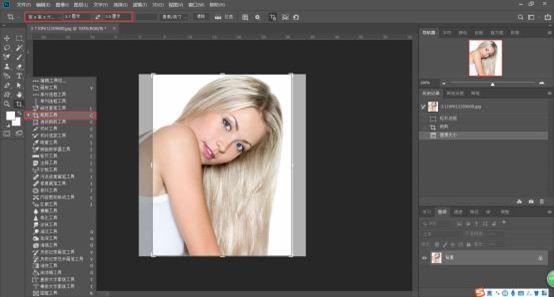
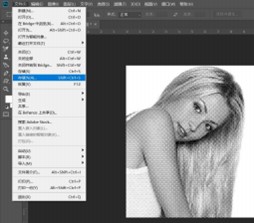
1. Use Photoshop to open the photo that needs to print. Click: image(I)-image size (Ctrl+Alt+I), adjust the image resolution, and make the image size in the range of 1.0-1.1M.
2. Click: Cutting tool (C), adjust the cutting size.
Note: the cutting size should be consistent with the marking size.
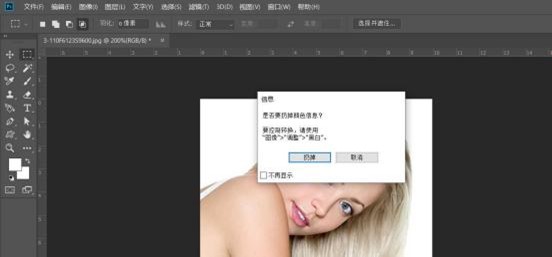
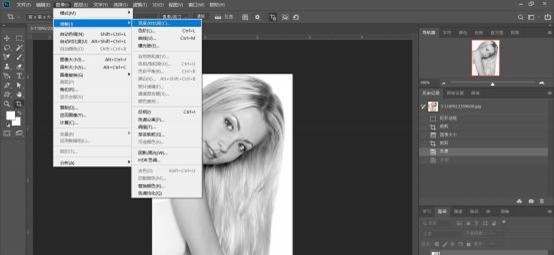
3. Click: Image (I)-Mode (M)-Grayscale (G). Click: Remove the color and turn the picture into off-white.

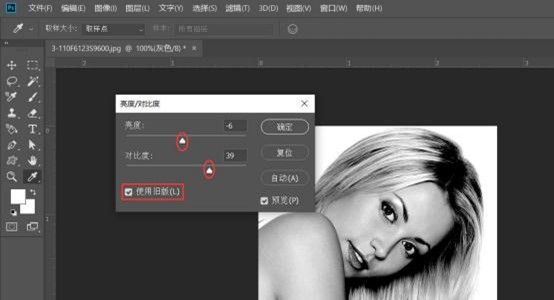
4. Click: Image (I)-Adjustment (J)-Brightness and Contrast (C).
Note: Check Use the old version, then adjust the image brightness to make the image clearer.
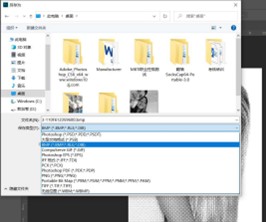
5. Click: File (F)-Save as (A), select BMP format as the storage format.
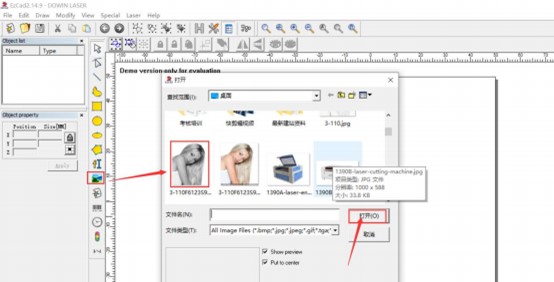
6. Use EZCAD laser marking software to open the processed picture.
7. Modify the marking size, check:Fixed DIP, enter DPI: X=300, Y=300. Click the Extend button, check:Invert, Dither, Lighten, and then click OK
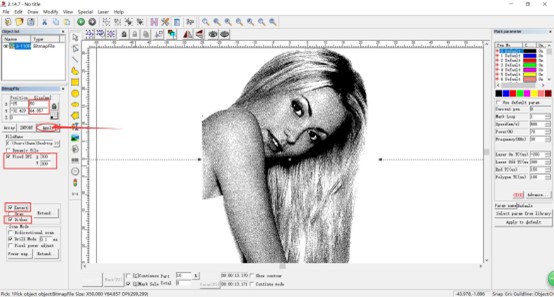
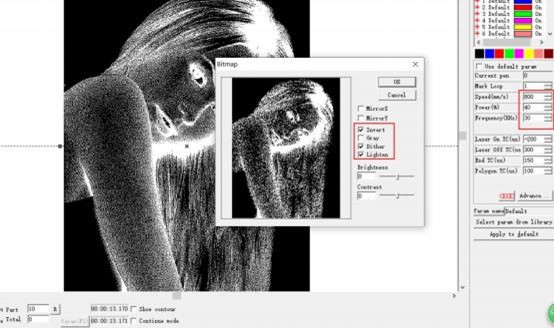
8. Set the marking speed: 800mm/s, Power: 40%, Frequcney: 30KHz. Then click Red (F1) to display the marking position, and then click the Mark (F2) button to start marking.